
How to Match Footage From Different Cameras in Client Testimonial Videos
A client testimonial is one of the most persuasive pieces of content a law firm can publish. A person who has been through a difficult legal matter explains, in their own words, what it was like to work with your team. Prospective clients pay attention to that because it feels real.
The problem is that the video itself can get in the way. Many testimonials are recorded with whatever equipment is available. One angle comes from a mirrorless camera in the office, another from a phone, and a third from a laptop webcam during a remote interview. When these clips are placed side by side, the color, brightness, and skin tones often do not agree. The video feels stitched together, and that can quietly weaken the trust you are trying to build.
This guide explains why footage from different cameras looks different, how to prepare for it, and how to match it properly so your testimonial videos look consistent and professional.
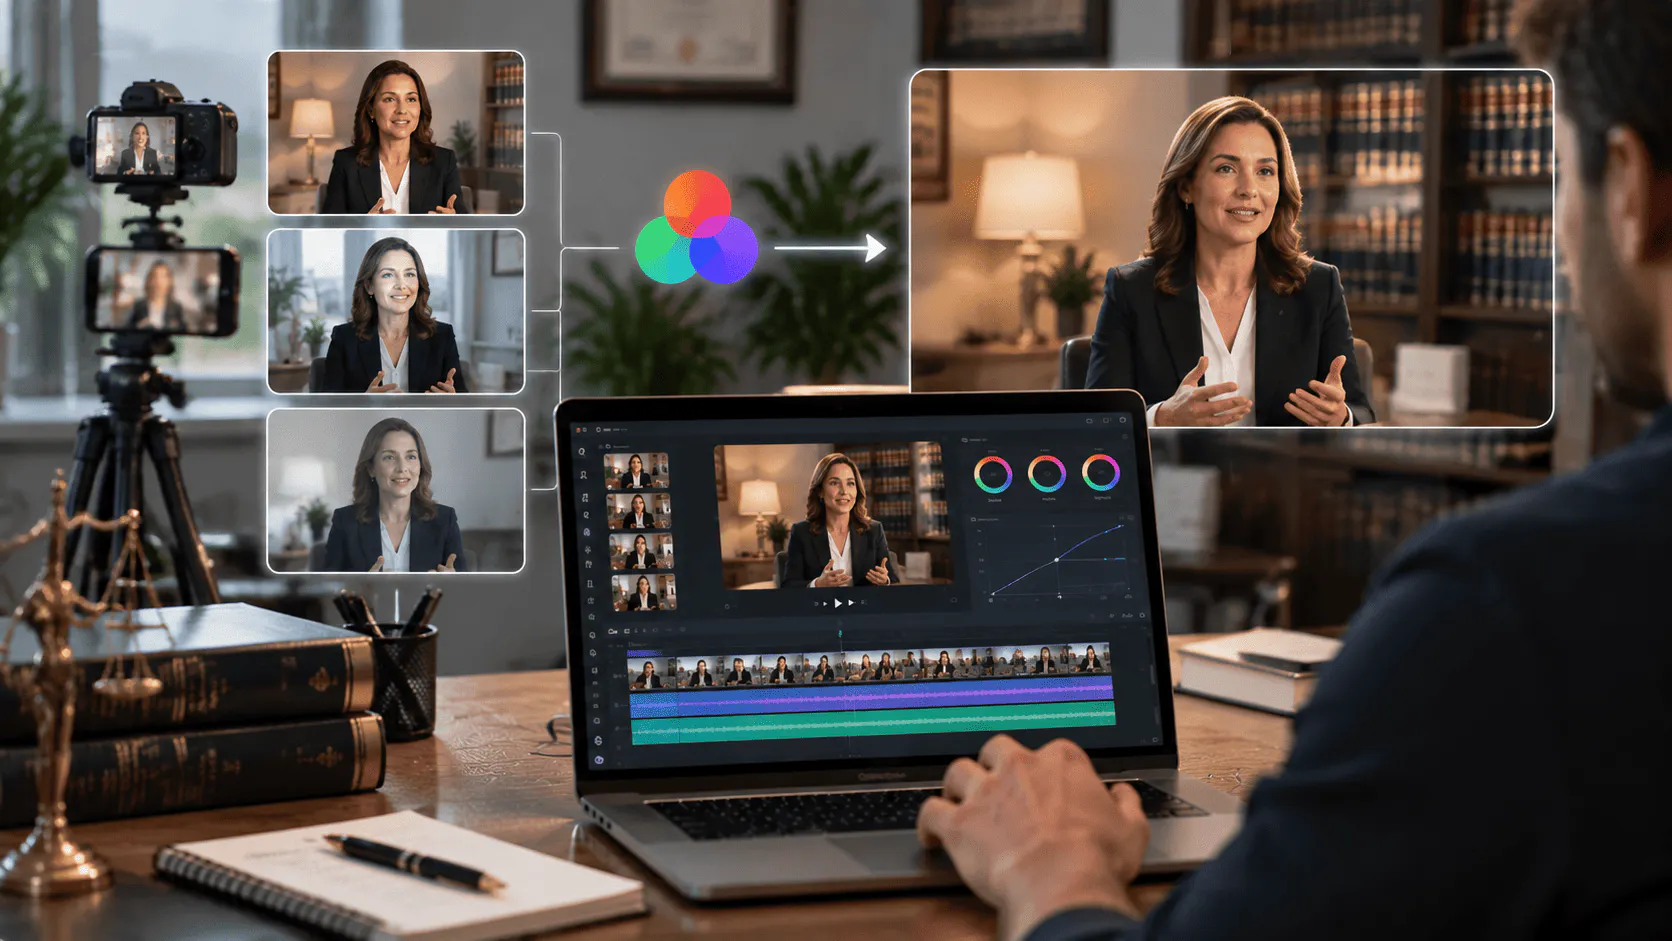
Why Mismatched Footage Hurts Testimonial videos
Viewers may not know the technical reason a video feels off, but they notice the result. If a client looks warm and natural in one shot and pale or greenish in the next, attention shifts from the story to the picture. Distracting visuals make a testimonial feel less polished, and a less polished video can make a firm appear less careful.
Law firms depend on credibility. Your clients trust you with sensitive matters, so the content you publish should reflect the same attention to detail. Consistent color across every shot is a simple way to show that care.
What Makes Footage From Different Cameras Look Different
Every camera captures an image in its own way. Several factors cause the differences you see in the edit.
Sensor and processing. A phone applies heavy automatic processing, while a dedicated camera may record a flatter image that is meant to be adjusted later.
White balance. Each device reads the color of the room's lighting differently. One clip may lean warm and yellow while another leans cool and blue.
Exposure. Cameras set brightness on their own, so the same face can look bright in one angle and dim in another.
Color profile. Some cameras record in a standard profile and others in a log or flat profile, which changes how contrast and saturation appear before any editing.
Lighting changes. A window that lets in afternoon sun can shift the look of a scene halfway through an interview.
Knowing these causes helps you fix problems in the right order instead of guessing.
Prepare Before You Edit
The easiest matching work is the work you avoid. A few habits at the recording stage save a lot of time later.
- Set the same white balance manually on every camera instead of leaving it on auto.
- Use the same frame rate and resolution across devices.
- Light the client's face with a consistent source, and avoid mixing daylight with overhead office bulbs.
- Record a few seconds of a gray card or a plain white sheet of paper at the start, if possible, so you have a neutral reference.
- Label each clip by camera angle so you can find footage quickly.
Even when preparation is imperfect, which is common in real firm settings, the footage can still be corrected in editing.
Start With a Clean Base Cut
Testimonial interviews usually include repeated answers, pauses, and false starts. Before you touch color, it helps to build a clean timeline of the usable material. Working on footage you will eventually delete wastes effort.
Invideo editor is designed for this stage. You upload your raw footage, describe the base cut you want, and its AI editing agents review the material, pick the usable takes, and remove repetition and filler. The result is an editable timeline that runs from start to finish, so your grading work happens only on the clips that will appear in the final video.
Correct First, Then Match
Many editors make the mistake of jumping straight to a stylized look. A better approach follows a clear order.
1. Correct exposure. Bring each clip to a similar brightness so faces are clearly visible and not too dark or blown out.
2. Fix white balance. Neutralize any color cast so whites look white and the room does not lean too warm or cool.
3. Balance skin tones. Skin is the anchor of a testimonial. Once a client's face looks natural in one shot, use it as the reference for every other angle.
4. Match contrast and saturation. Adjust so shadows, highlights, and color intensity feel similar from clip to clip.
5. Apply a shared look. Only after the clips agree with each other should you add a consistent tone across the whole video.
This order keeps the process simple. You solve the technical problems first, and the creative choices come last.
Choosing a Tool That Makes Matching Easier
Matching footage by hand can take a long time, especially when a single testimonial includes three or four sources. A good editing platform should let you correct clips quickly, compare shots, and keep full control over the result.
Invideo editor includes a dedicated grading workflow through invideo’s color grading, where you can correct exposure, balance colors, and create the look you want. You can describe the grade to an AI agent or share a reference image, and then fine-tune the result with color wheels, curves, and manual controls. This is useful for testimonial work because you can set one clip as your reference and ask for the other angles to be brought in line with it, then adjust by hand wherever you want a different result.
Because everything happens on an editable timeline, you can inspect every change and refine it. That matters for firms that want speed without giving up control over how a client appears on screen.
A Simple Workflow for Law Firm Testimonial Videos
Here is a practical process any firm or marketing team can follow.
- Upload all camera angles and audio to one project.
- Ask invideo editor to assemble a base cut from the best takes of each answer.
- Choose the cleanest, best-lit clip as your color reference.
- Correct exposure and white balance on every other clip.
- Match skin tones and contrast against the reference.
- Add one consistent look across the full timeline.
- Review the video on both a phone and a desktop screen before publishing.
Reviewing on multiple screens is important, since most prospective clients will watch on a phone, where color differences can look stronger.
Special Cases: Multicam and Remote Testimonials
Some testimonials use two or more cameras in the same room, which makes syncing and selecting angles part of the job. Invideo editor can sync multicam angles, pick clean takes, and build a layered cut, so you can spend your time on matching color rather than lining up clips.
Remote testimonials are harder. A client who records on their own phone or laptop will have unpredictable lighting and color. In that case, aim for a natural, believable result rather than a perfect match. Correct the obvious problems, keep skin tones realistic, and avoid heavy filters that make the video feel artificial.
Common Mistakes to Avoid
- Over-grading. A heavy filter can make a real client look unnatural. Testimonials work best when the person looks like themselves.
- Ignoring skin tones. A clean background means little if the client's face looks off.
- Mixing many looks. Keep one visual style across the entire video and across your series of testimonials.
- Skipping the review. Always check the final export on more than one device.
- Editing the story. Color correction should never change the meaning of what a client said. Keep the edit honest.
Keep Testimonials Authentic and Compliant
Improving how a video looks is different from changing what it says. Attorney advertising rules vary by state and jurisdiction, and many bar associations have specific requirements for client testimonials, including disclosures and limits on claims about outcomes. Have the video reviewed against the rules that apply to your firm before publishing, and make sure you have written consent from every client who appears on screen.
Final Thoughts
Matching footage from different cameras is not about making a video look flashy. It is about removing distractions so a client's story comes through clearly. When color, brightness, and skin tones are consistent, viewers focus on the message and see a firm that pays attention to detail.
With a clear workflow, careful preparation, and a tool such as Invideo editor that handles the repetitive work while leaving the timeline in your hands, law firms of any size can produce testimonial videos that look polished and feel trustworthy.